eShop Setup
Frontdeskify will host an online shop for your business. This guide will cover:
- Connecting PayPal Business account for collecting payments
- Adding options for delivery
- Adding products to the shop
- Creating product collections
- Managing orders
Connecting PayPal Business account
Shop will not be displayed on your website if no PayPal account is connected.
- Navigate to PayPal Merchant settings by:
- Click on the "Connect" button.
- This will take you to the PayPal page. Follow the on-screen instructions to complete the process.
Adding options for delivery
- Navigate to Delivery settings by:
- Optional: In-store pickup can be enabled by clicking on the "Enable" button.
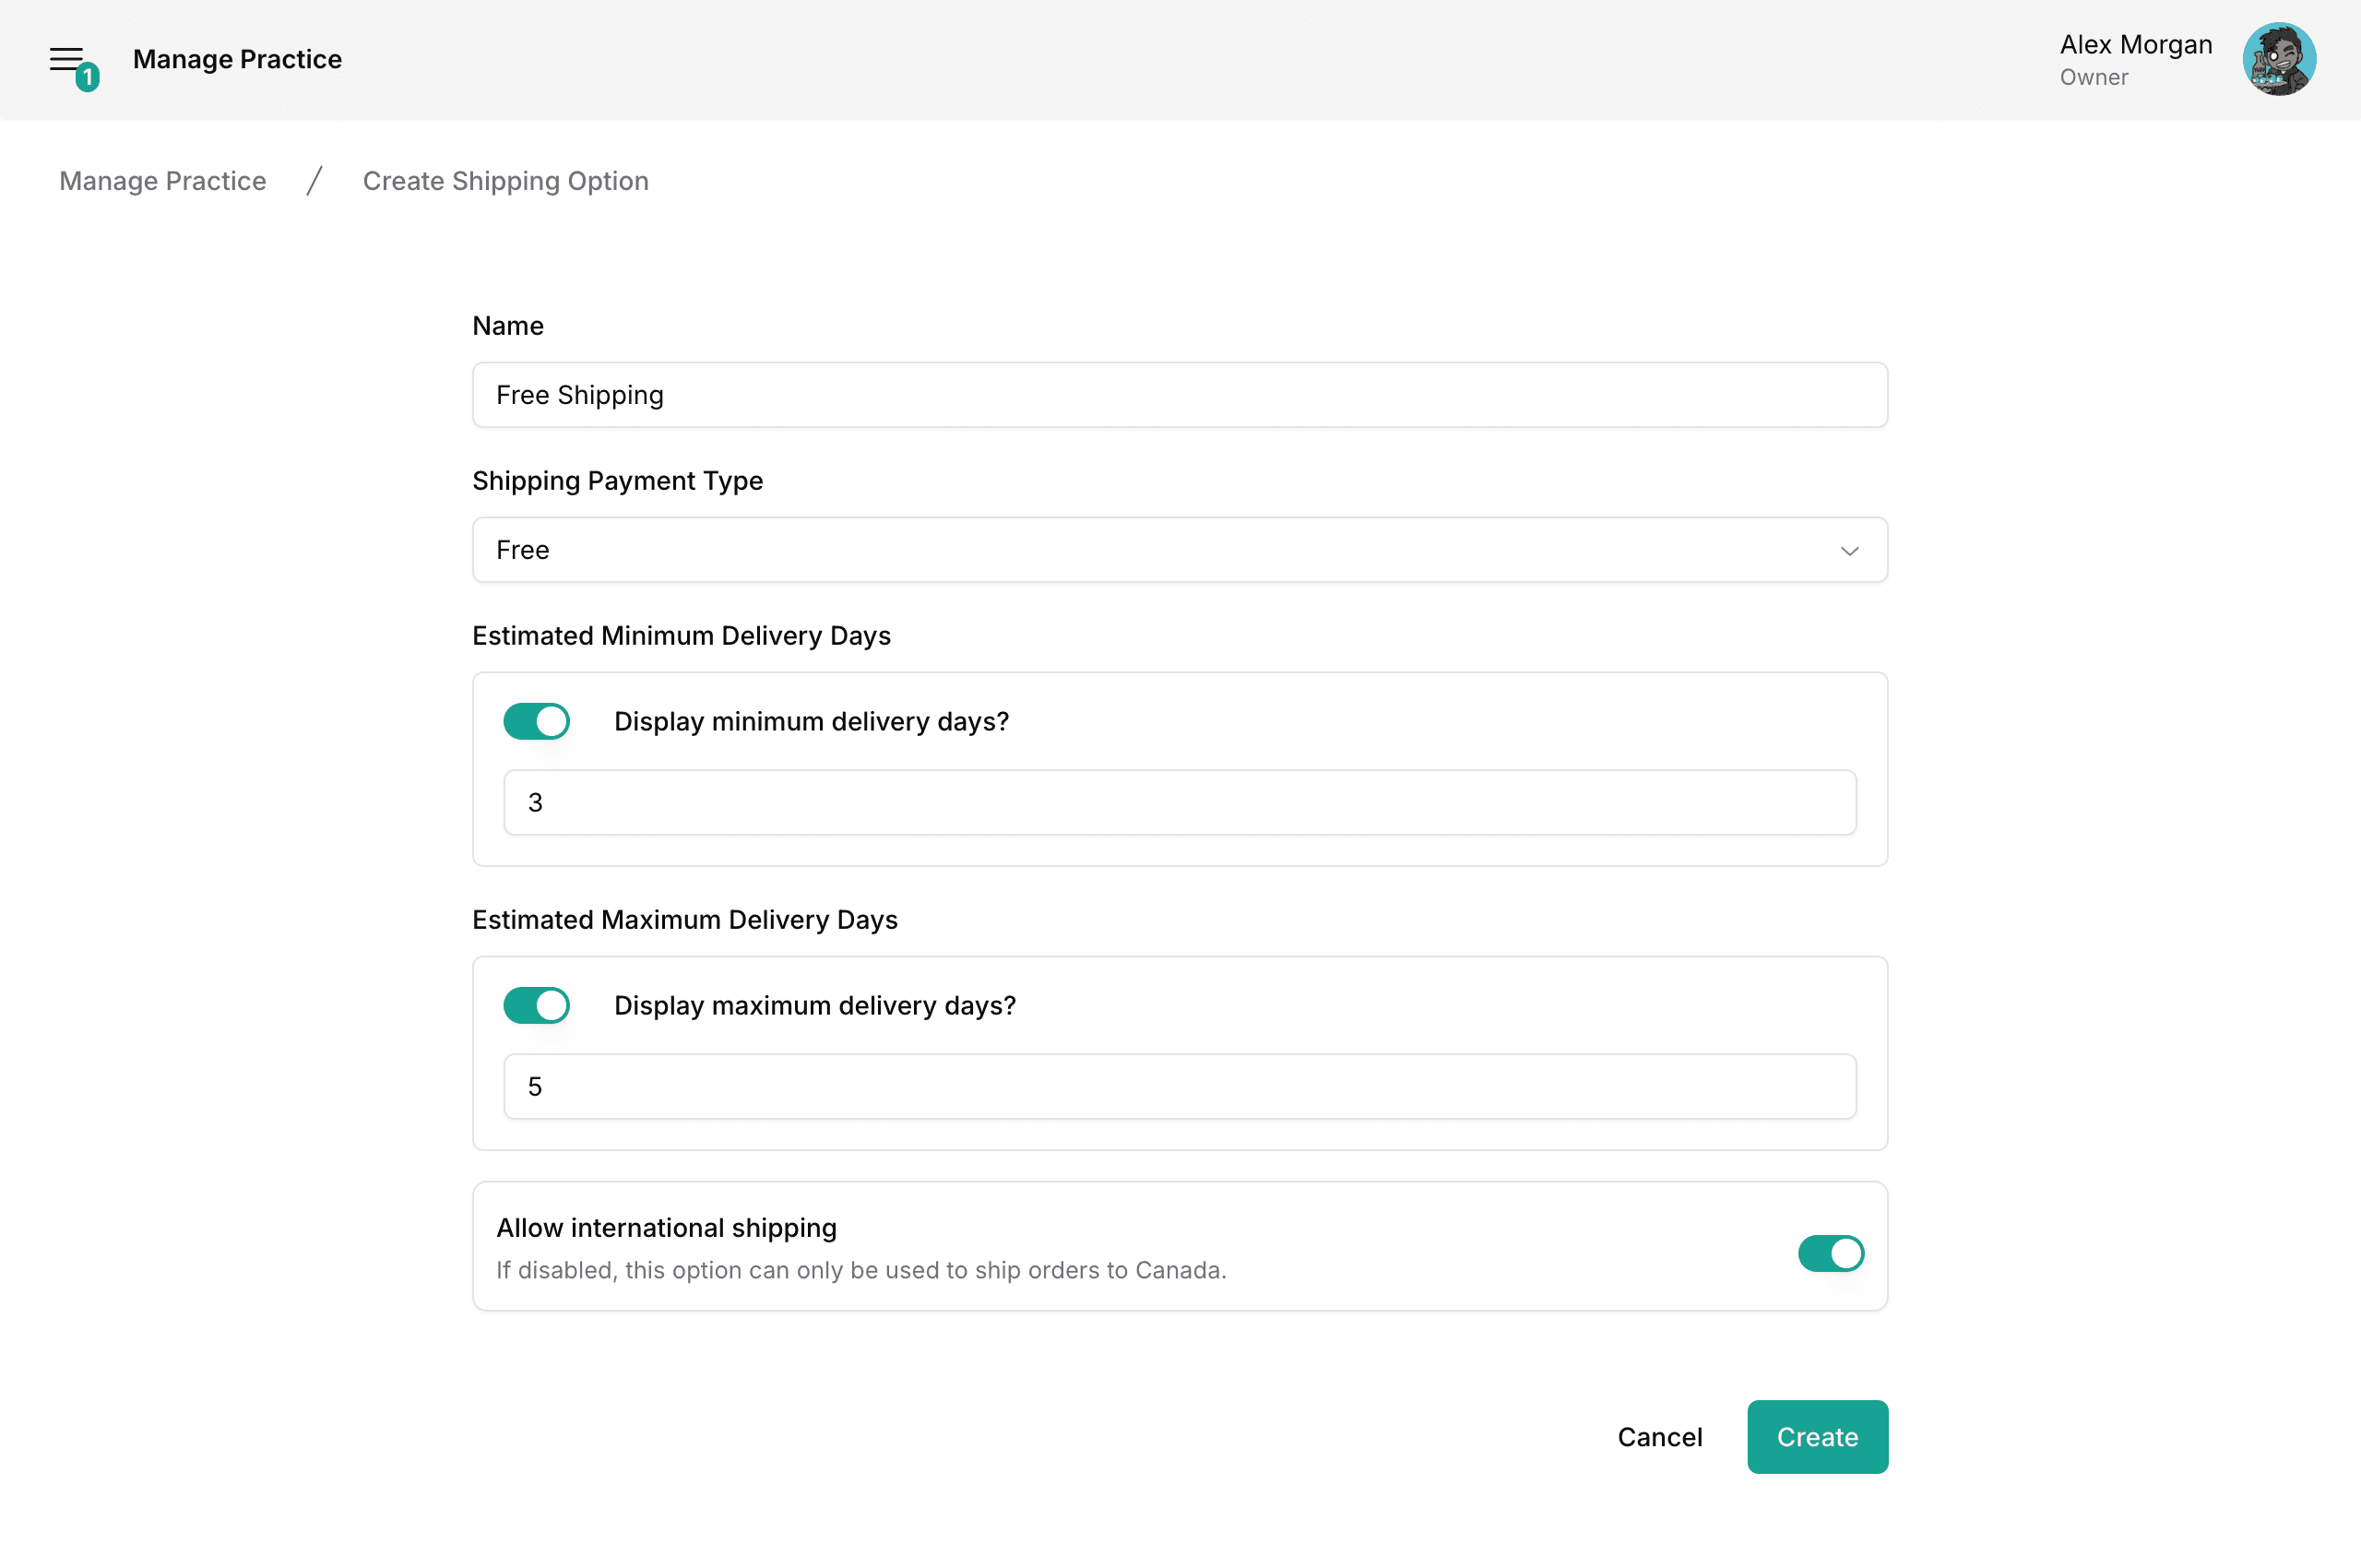
- A new delivery option can be added to your online store by clicking the "New Shipping Option" button.
- Fill out the details; then click the "Create" button.
- Repeat steps 3-4 for each shipping option you would like to provide.
Adding products to the shop
Register inventory products for sale in the shop section of your site.
If you have not added any products to the inventory, see the Adding Products section of the quickstart guide.
- Navigate to eShop Products settings by:
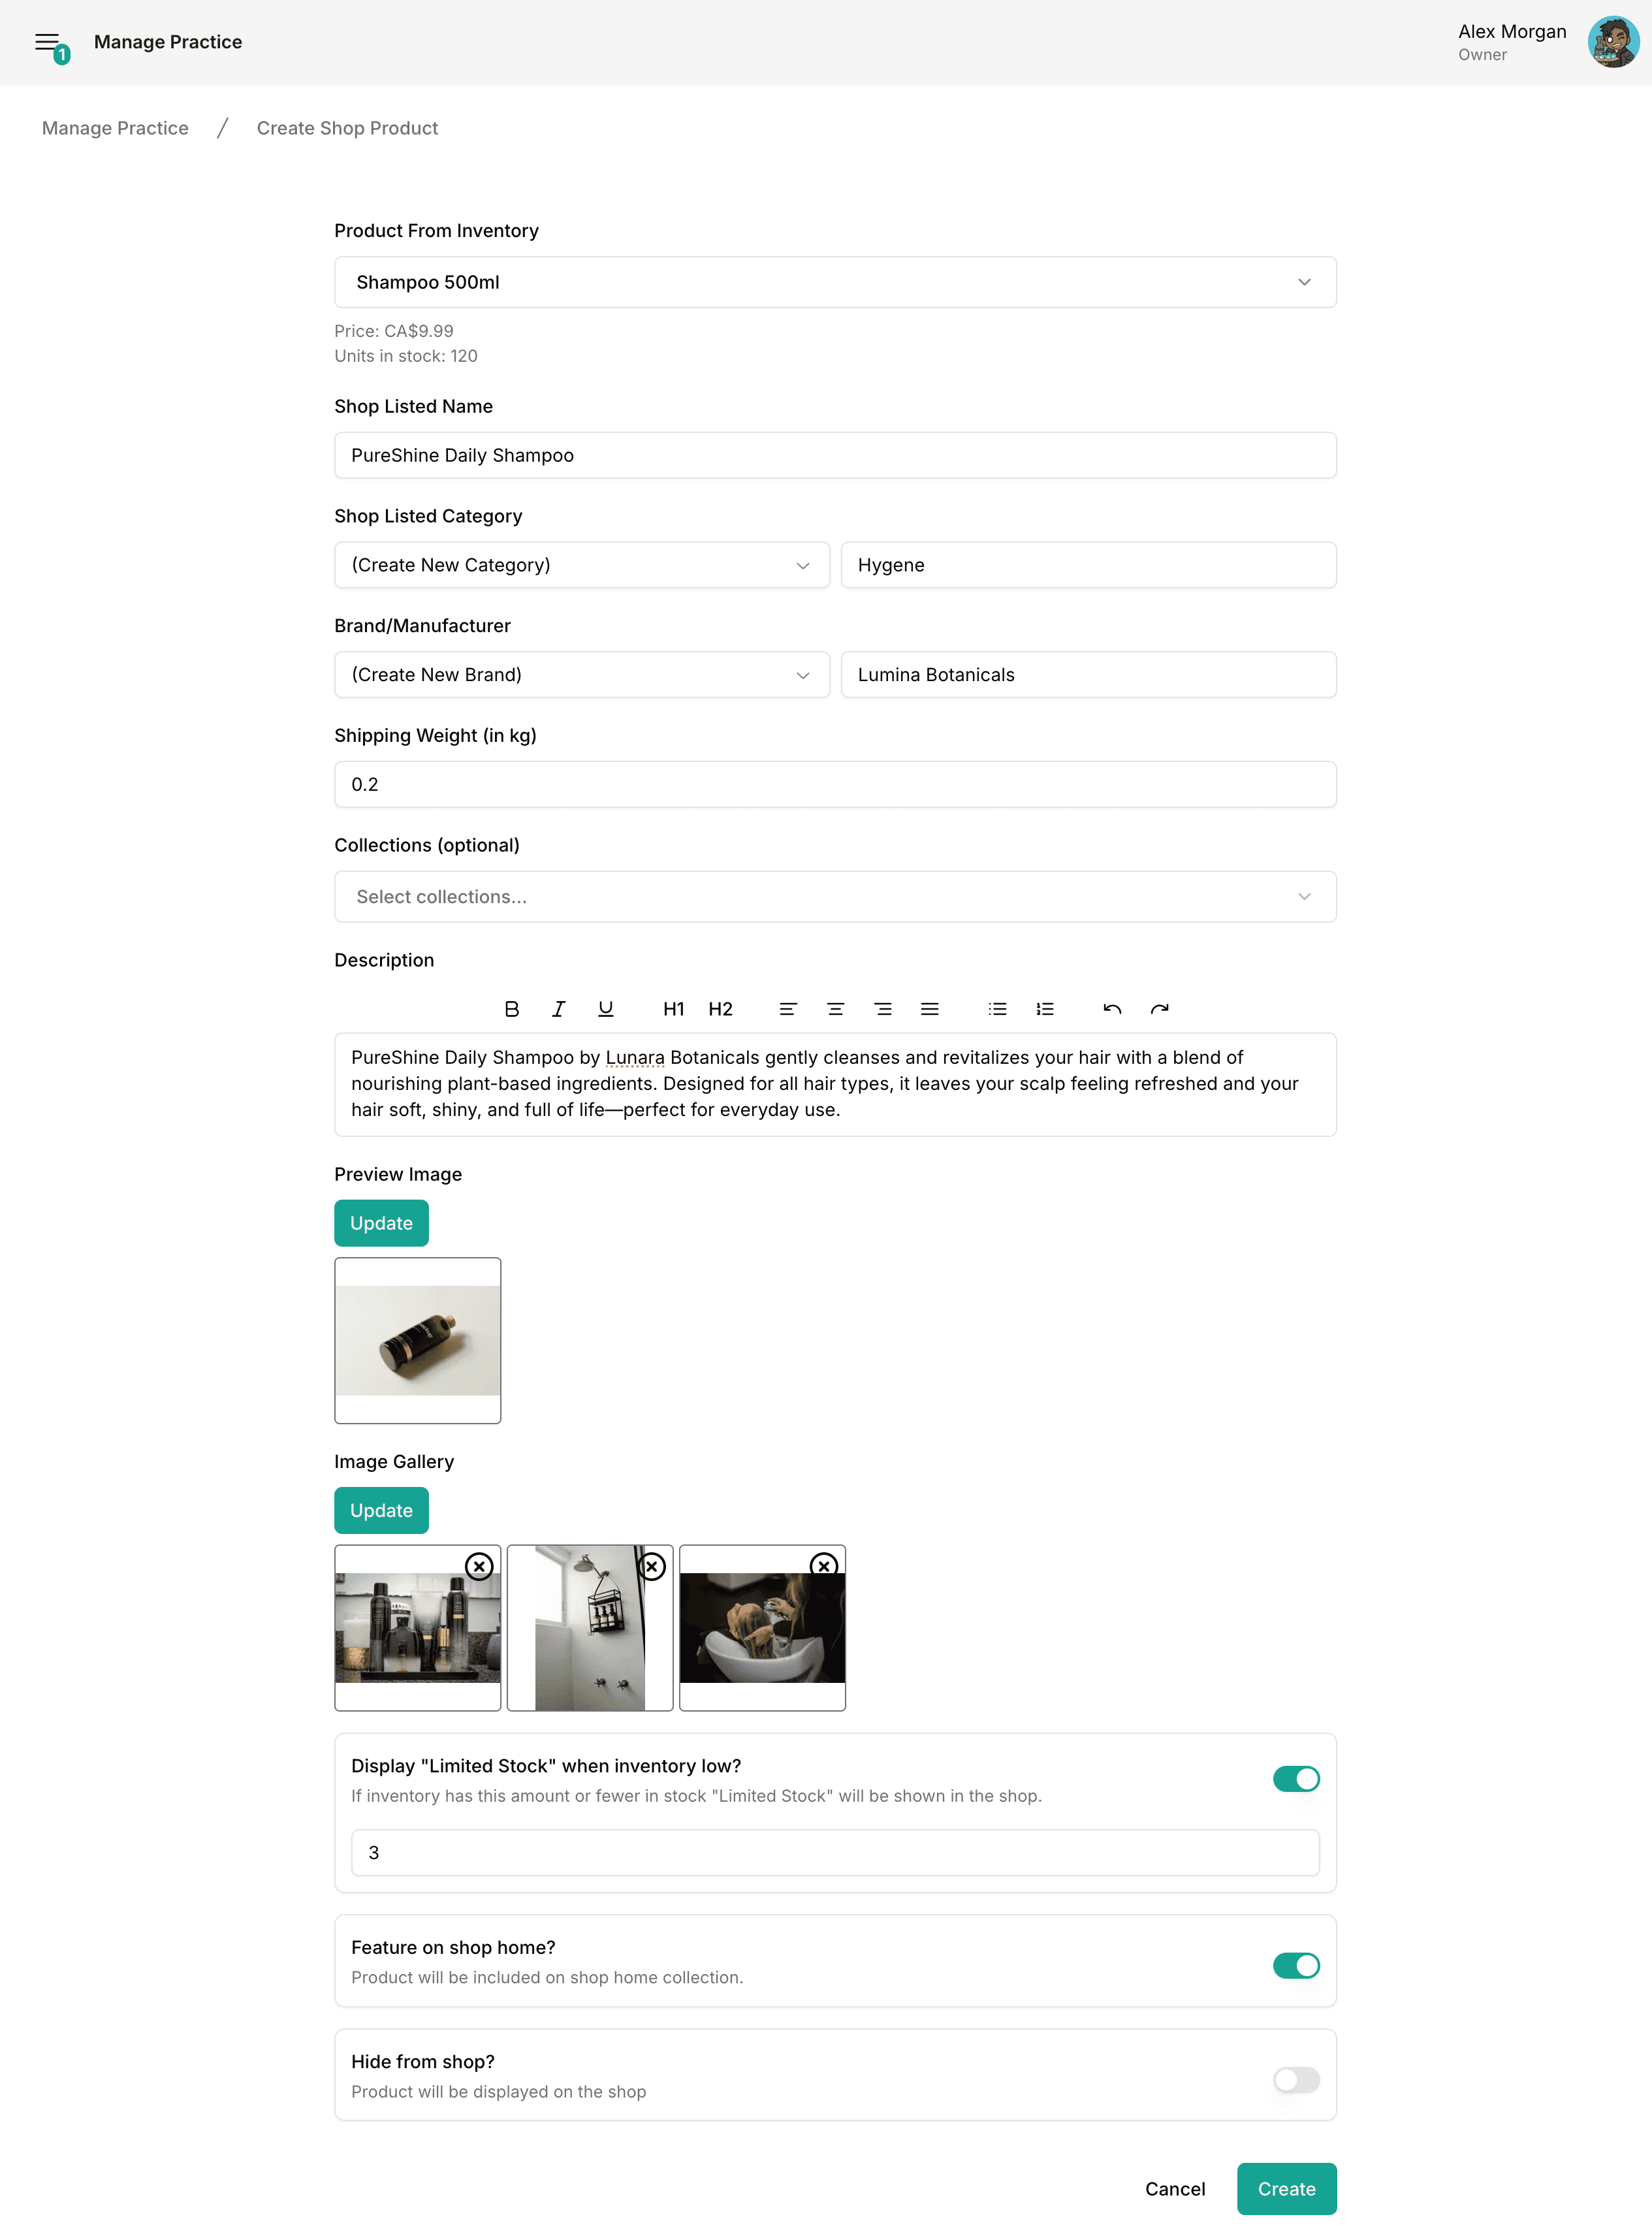
- Click on the "New Product" button.
- Fill out the details; then click the "Create" button.
- Repeat steps 2-3 for each product you would like to sell online.
Creating product collections
Collections are used for organizing products in your online shop as well as featuring them on the shop's home screen.
- Navigate to eShop Collections settings by:
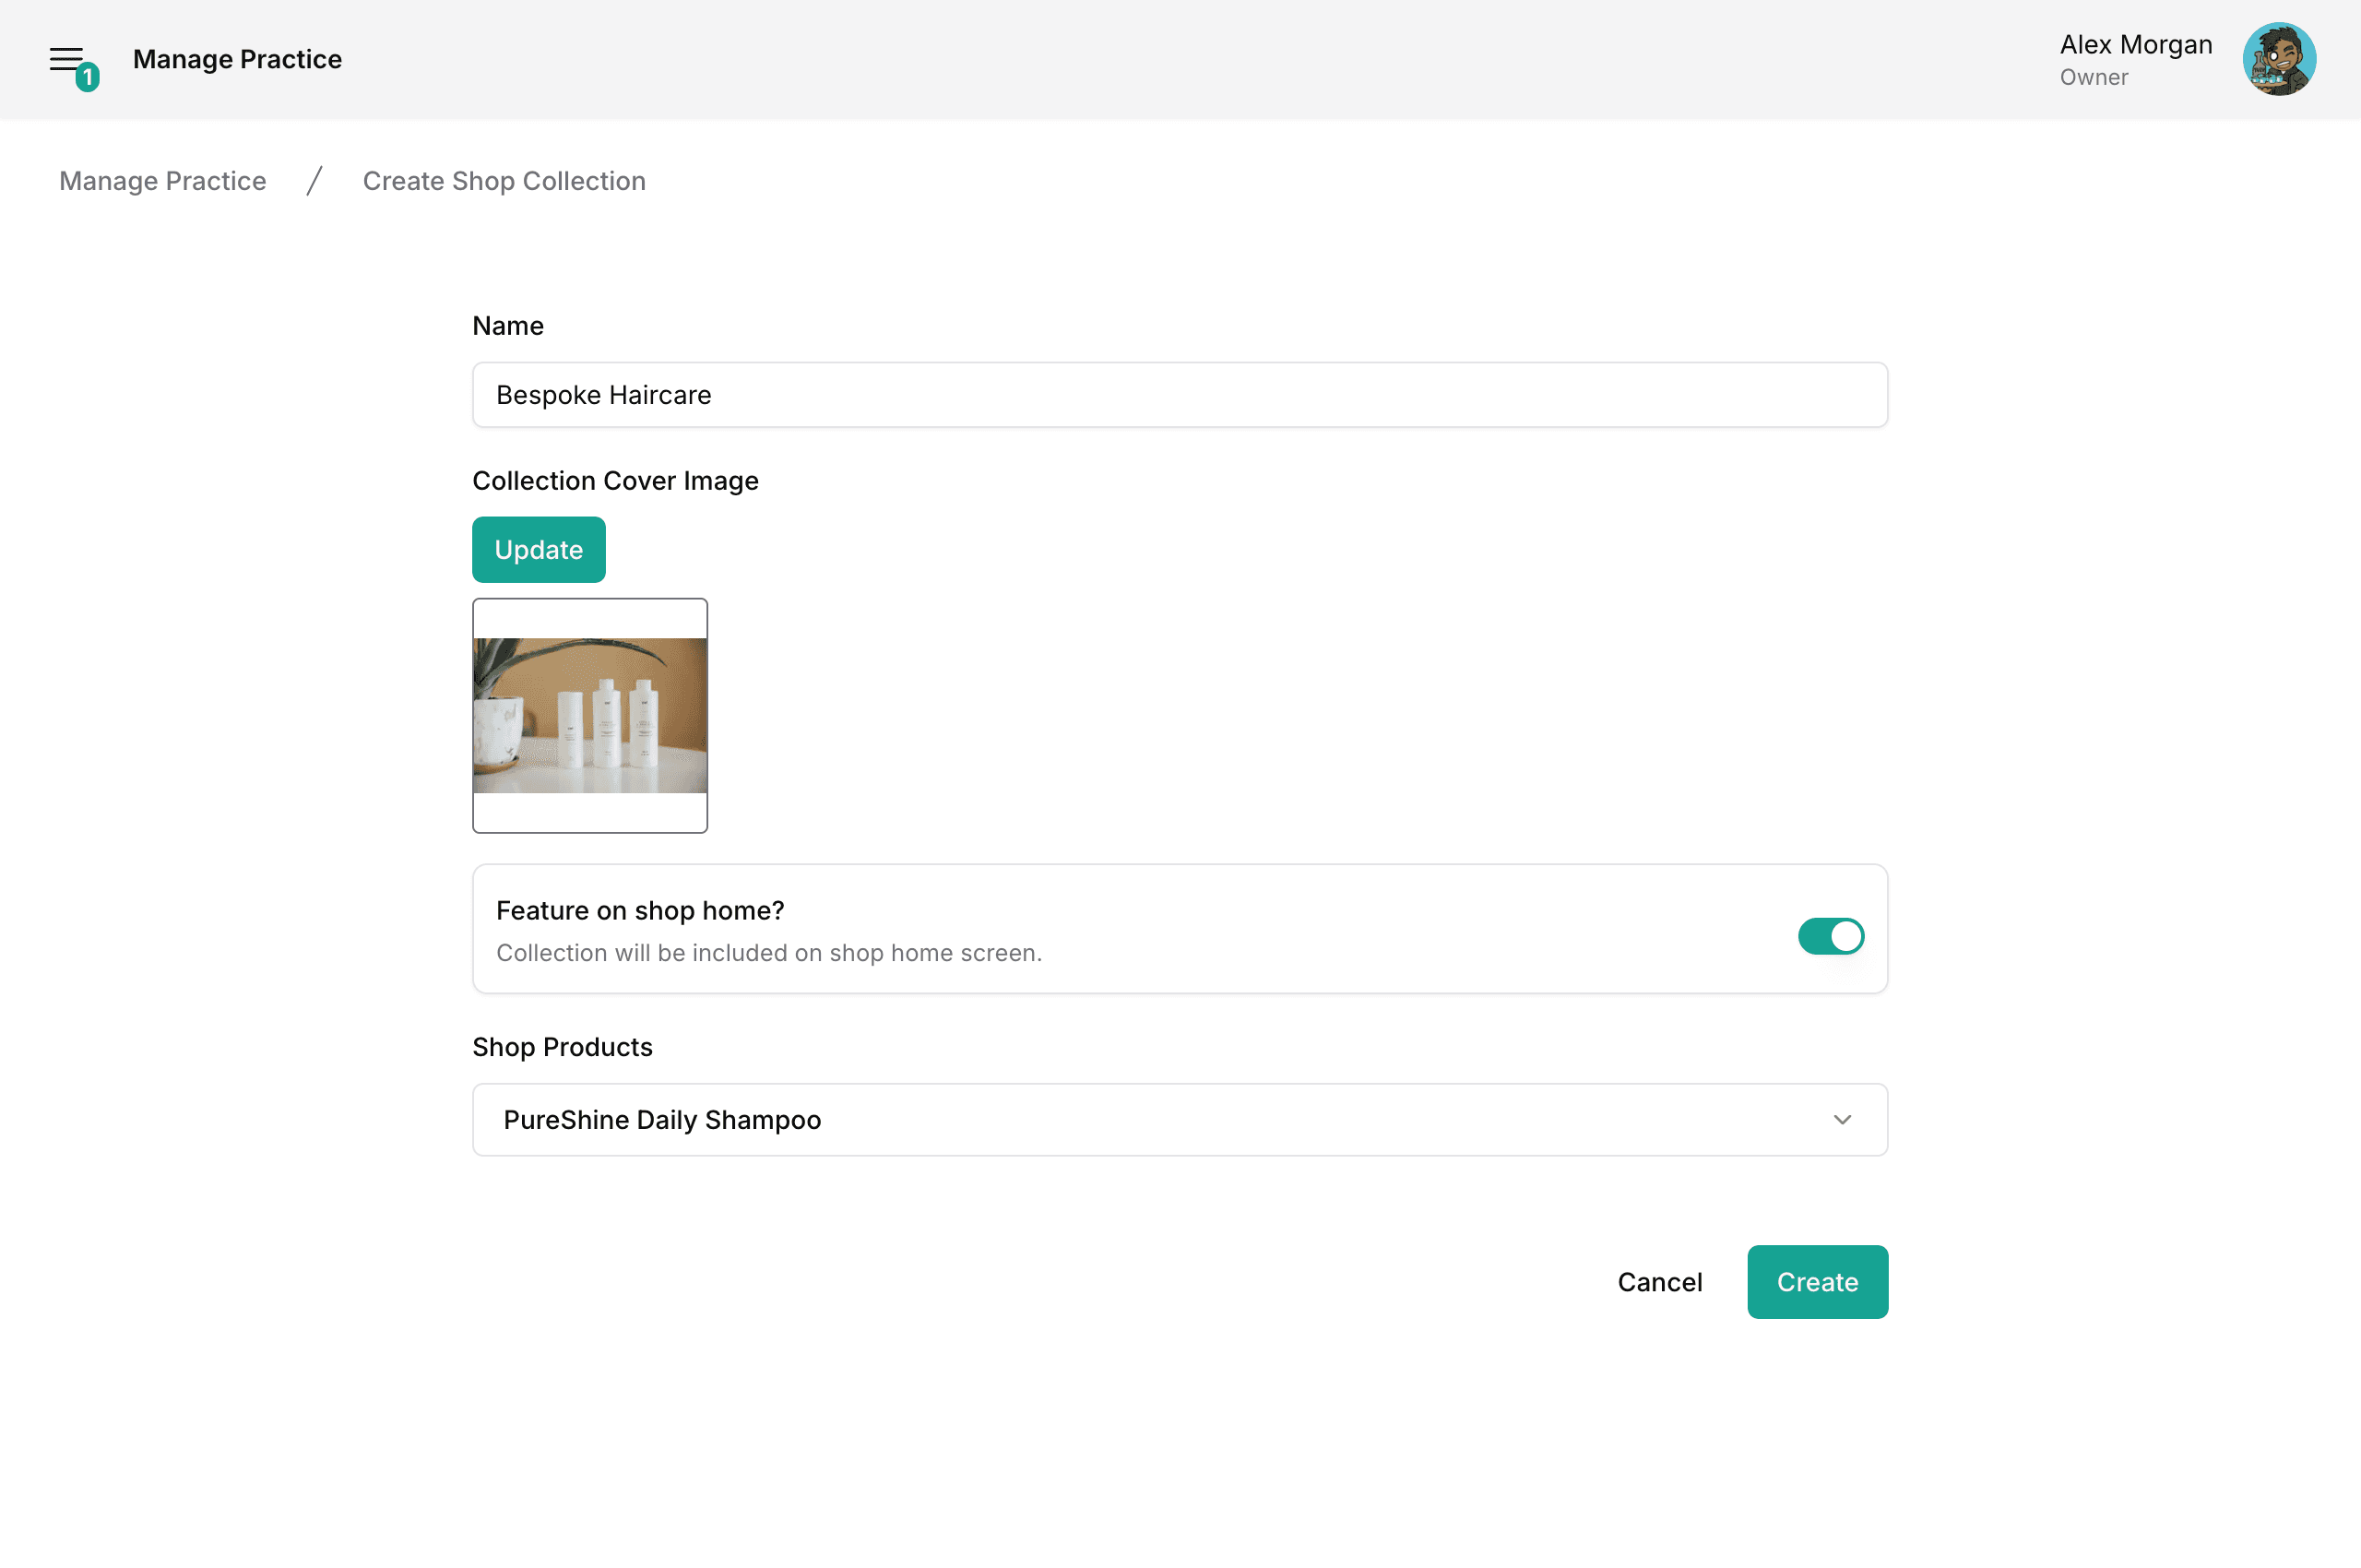
- Click on the "New Collection" button.
- Fill out the details; then click the "Create" button.
- Repeat steps 2-3 for each collection you would like to create.
Managing orders
Past and pending orders can be managed from the eShop Orders section of the dashboard.
From here you can:
- Search for orders.
- Update the status of pending orders.
- Refund orders.